# Phoniebox - DIY Jukebox
Here is a collection of notes, guides, and photos documenting the process of building a Phoniebox for our son.
This was a collaborative effort, and we'd like to express our thanks to everyone who contributed.
# Photos
Here are some photos of the finished Phoniebox.
### Front
[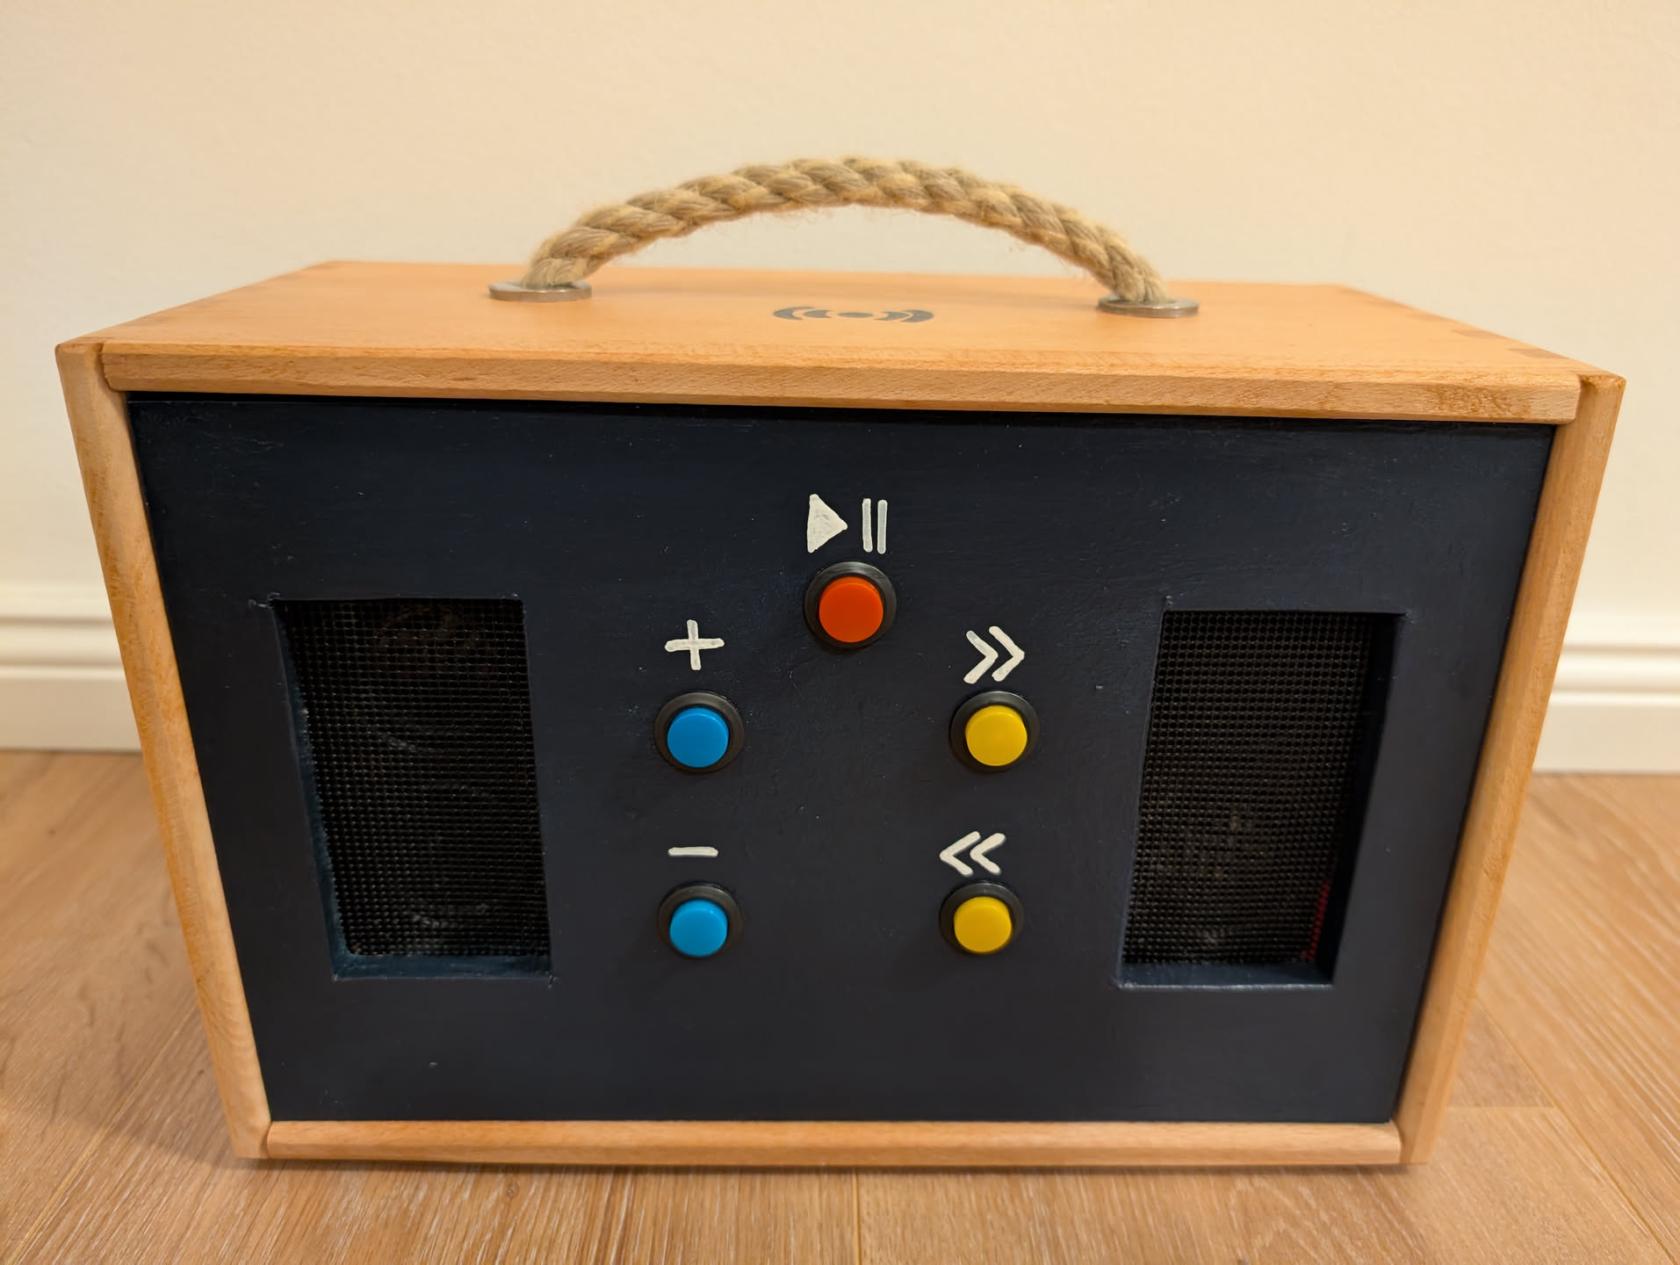](https://bookstack.leepeuker.dev/uploads/images/gallery/2025-01/gZcfront.jpeg)
### Top
[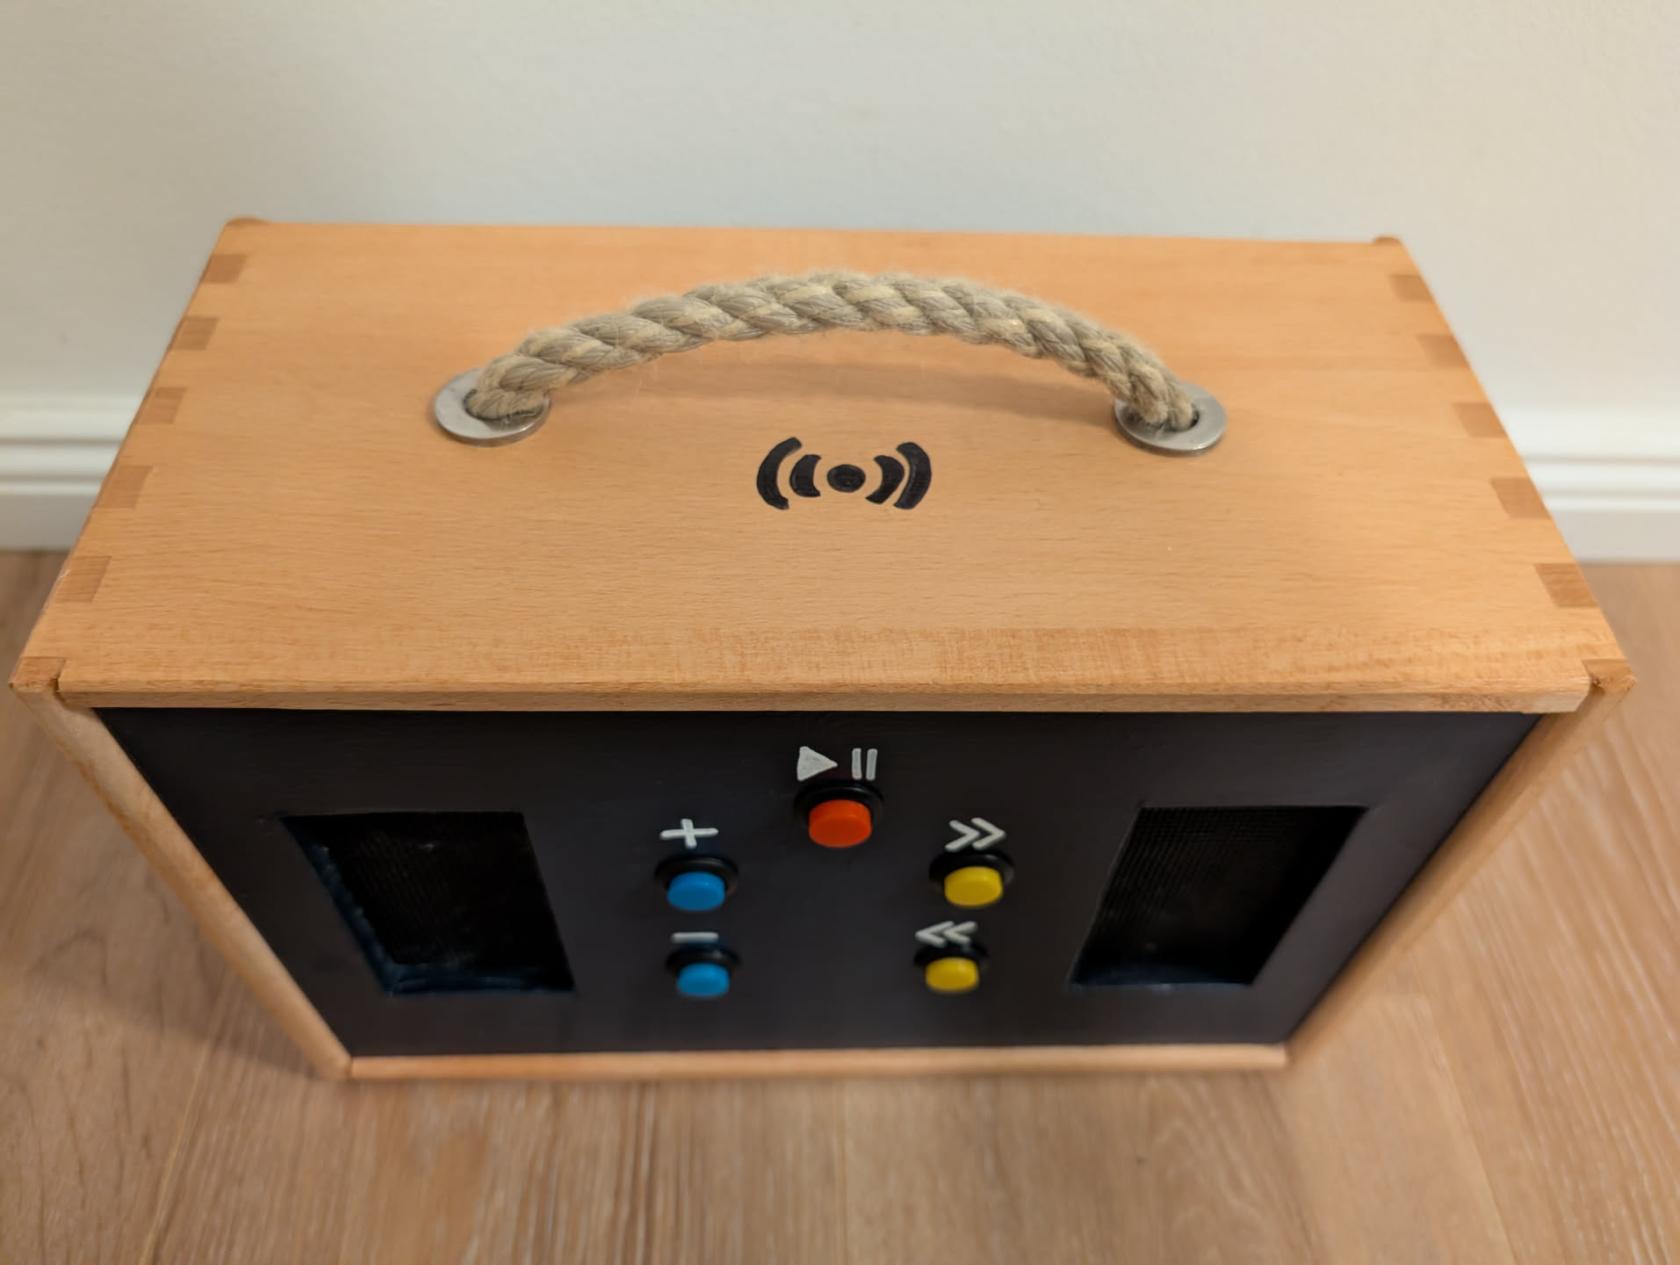](https://bookstack.leepeuker.dev/uploads/images/gallery/2025-01/oben.jpeg)
### Site (right)
[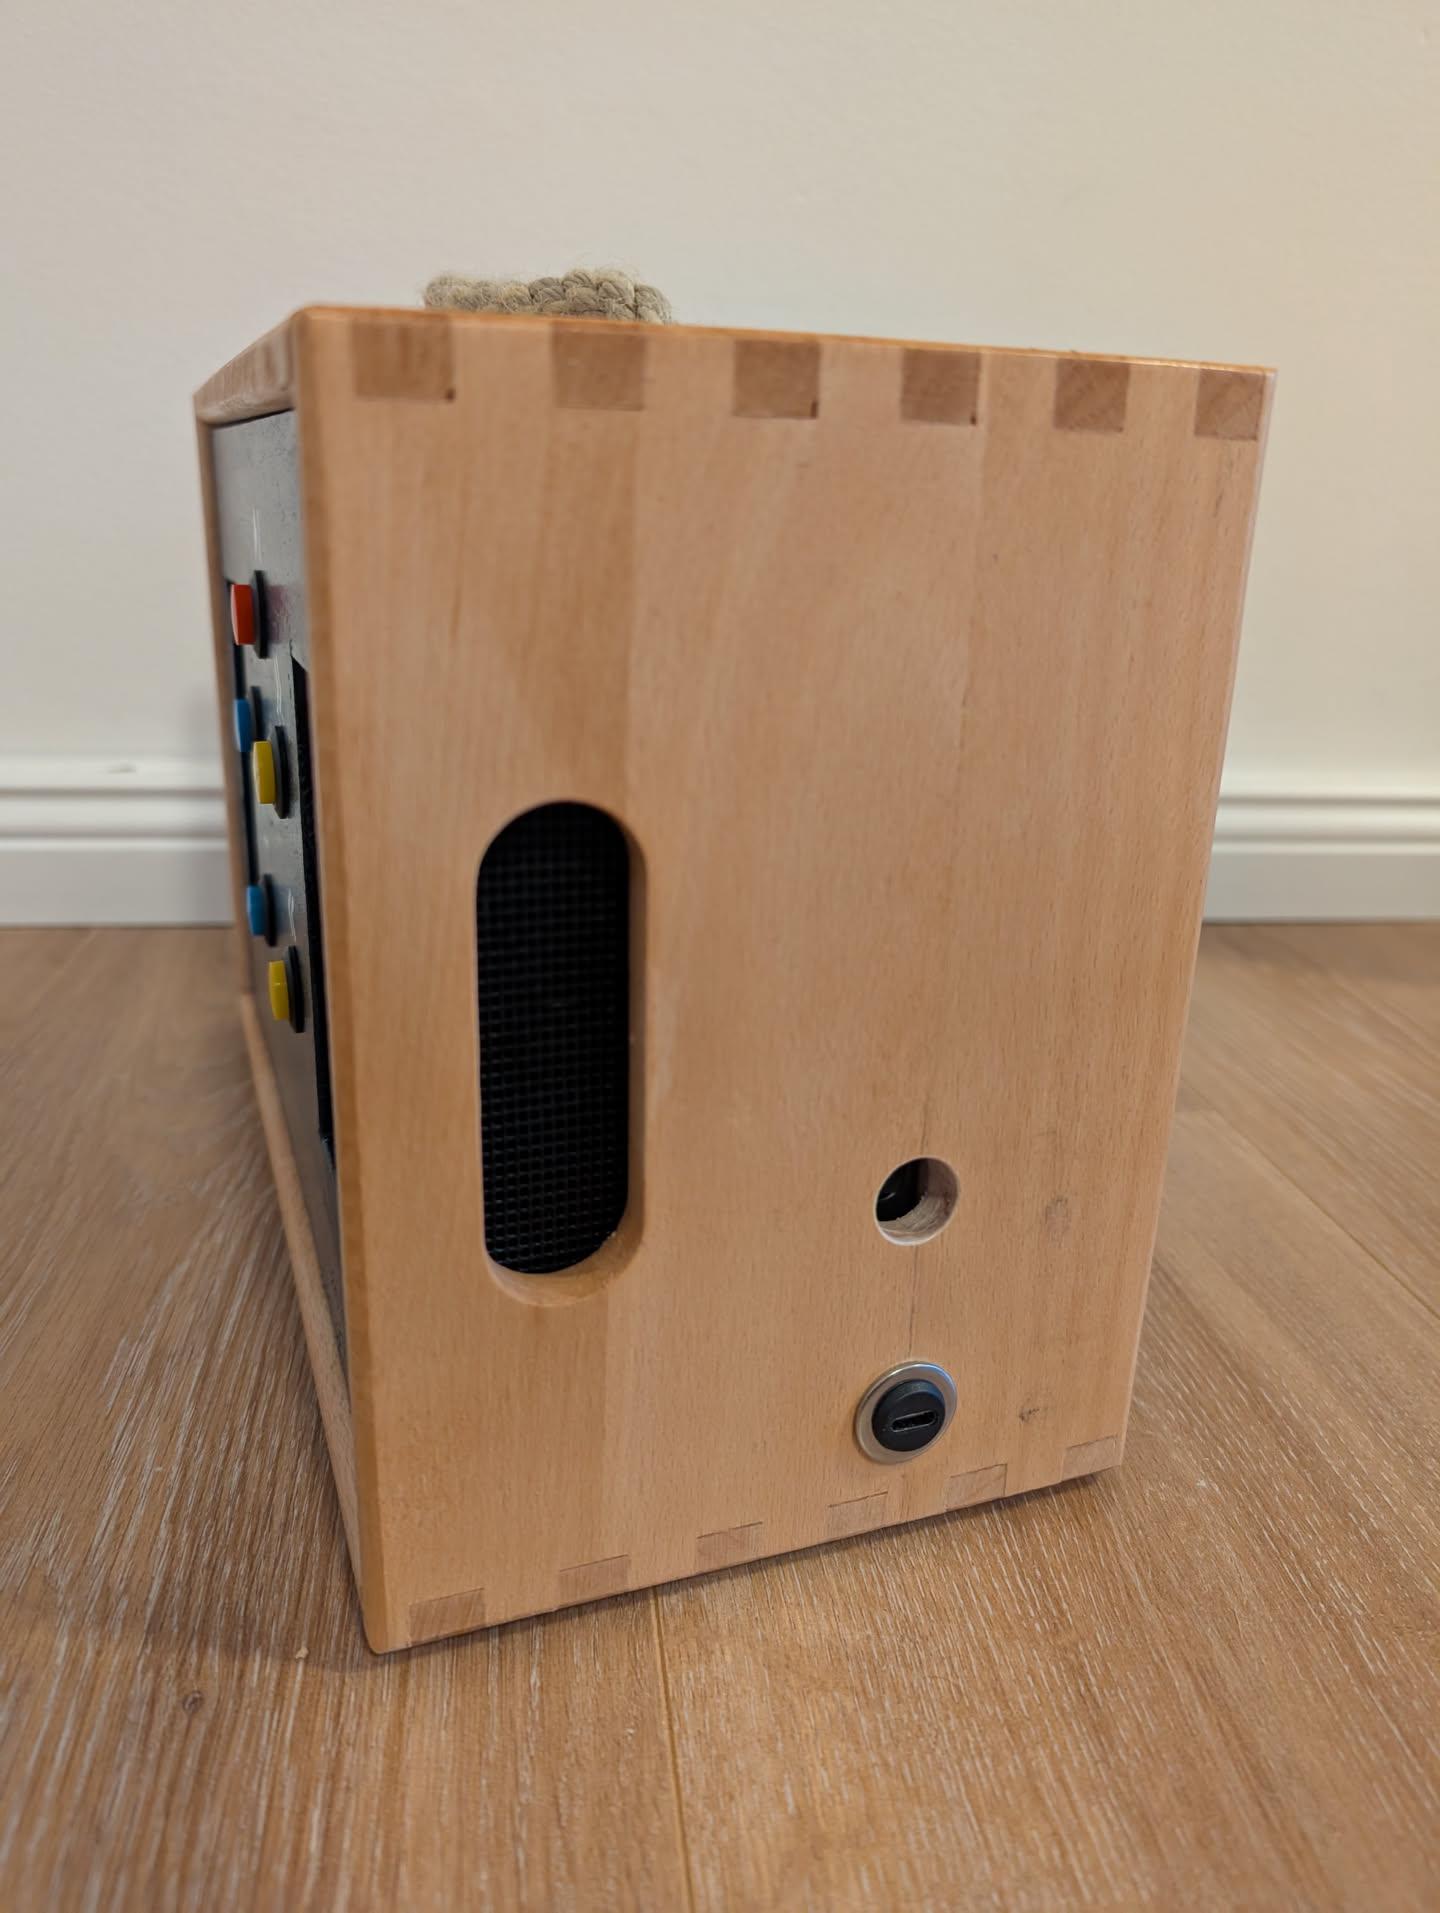](https://bookstack.leepeuker.dev/uploads/images/gallery/2025-01/seite-rechts.jpeg)
### Site (left)
[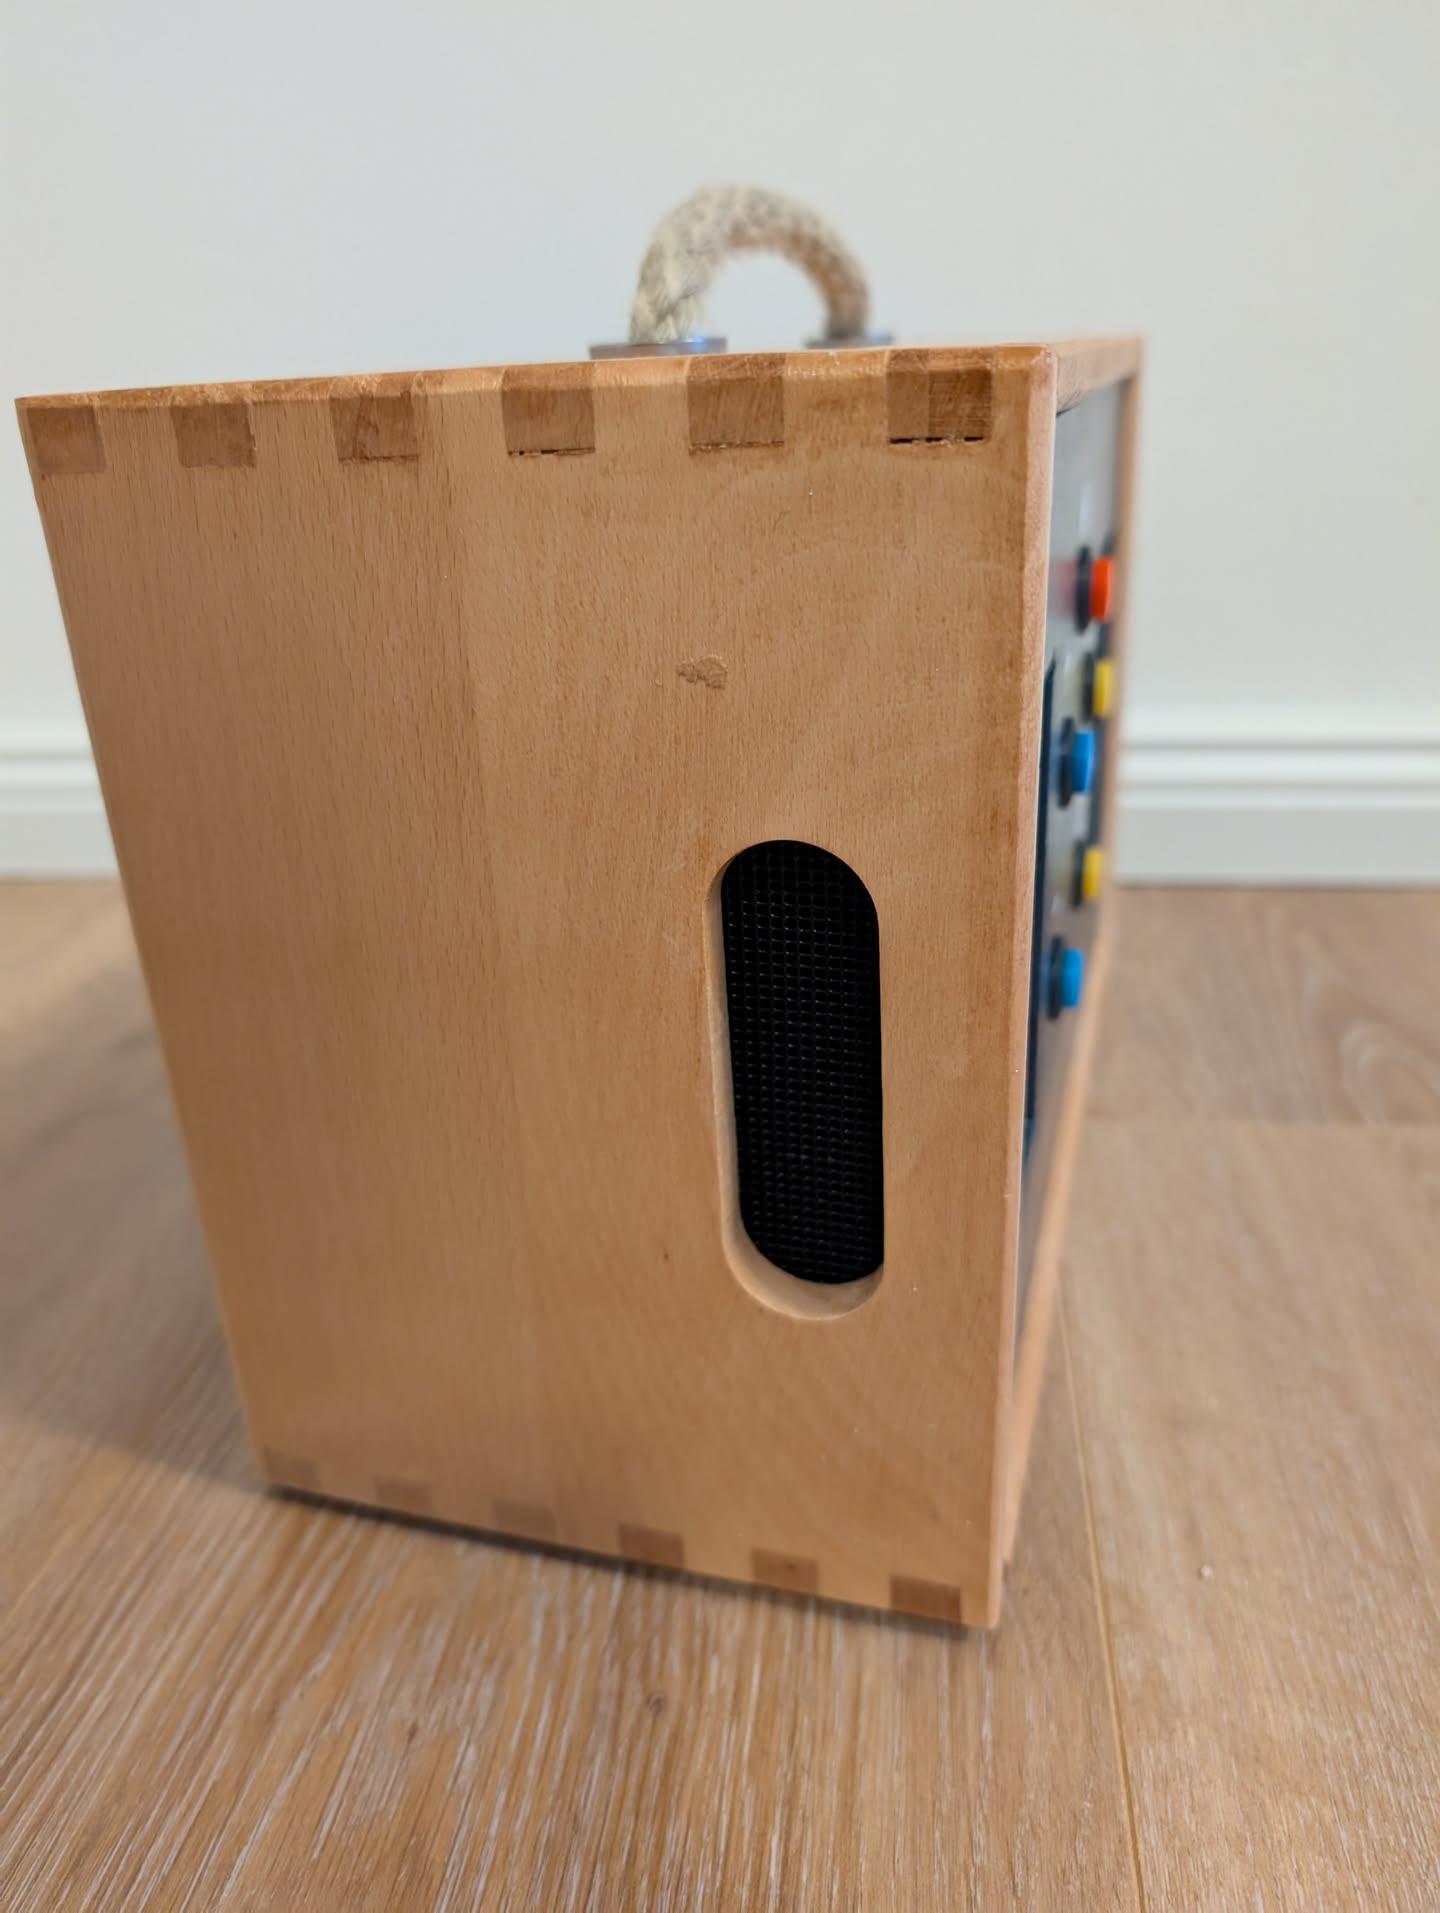](https://bookstack.leepeuker.dev/uploads/images/gallery/2025-01/seite-links.jpeg)
### Back
[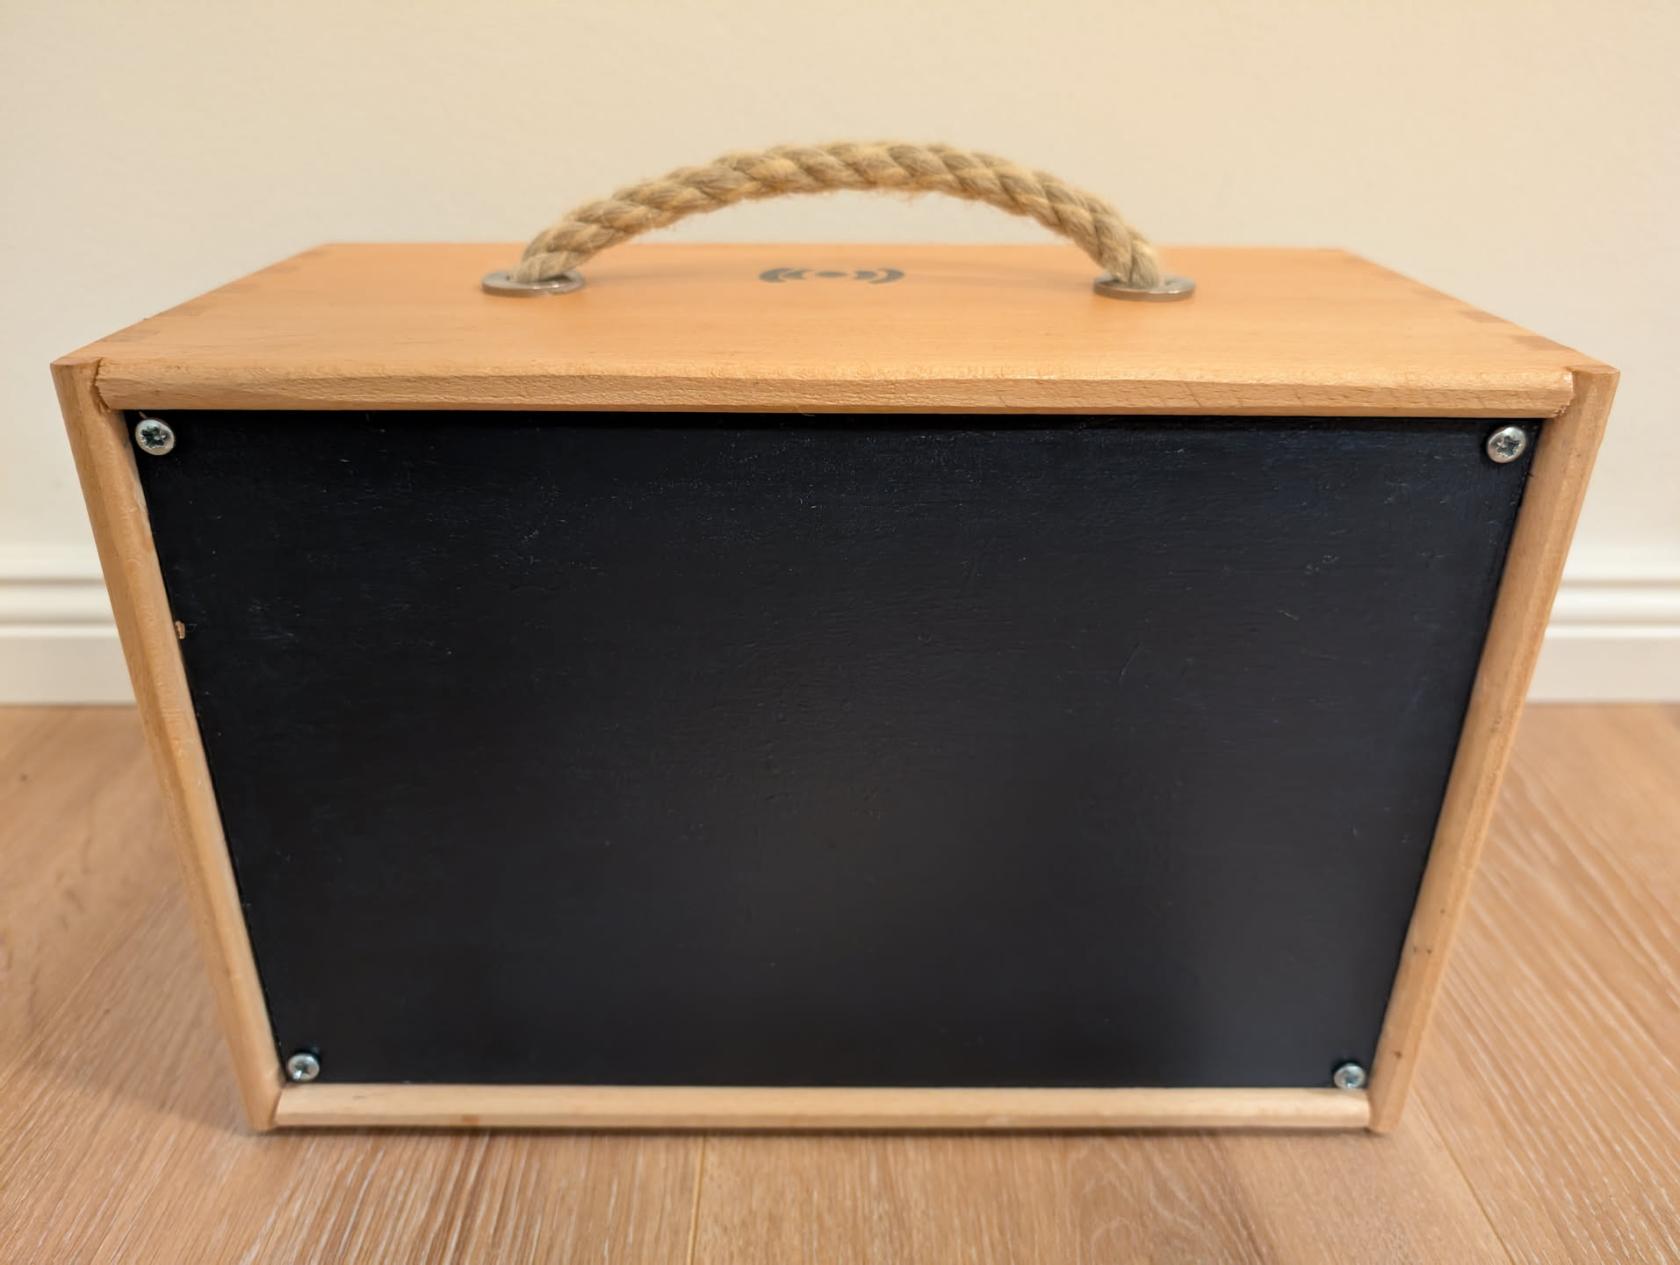](https://bookstack.leepeuker.dev/uploads/images/gallery/2025-01/z9dhinten.jpeg)
### Inside
[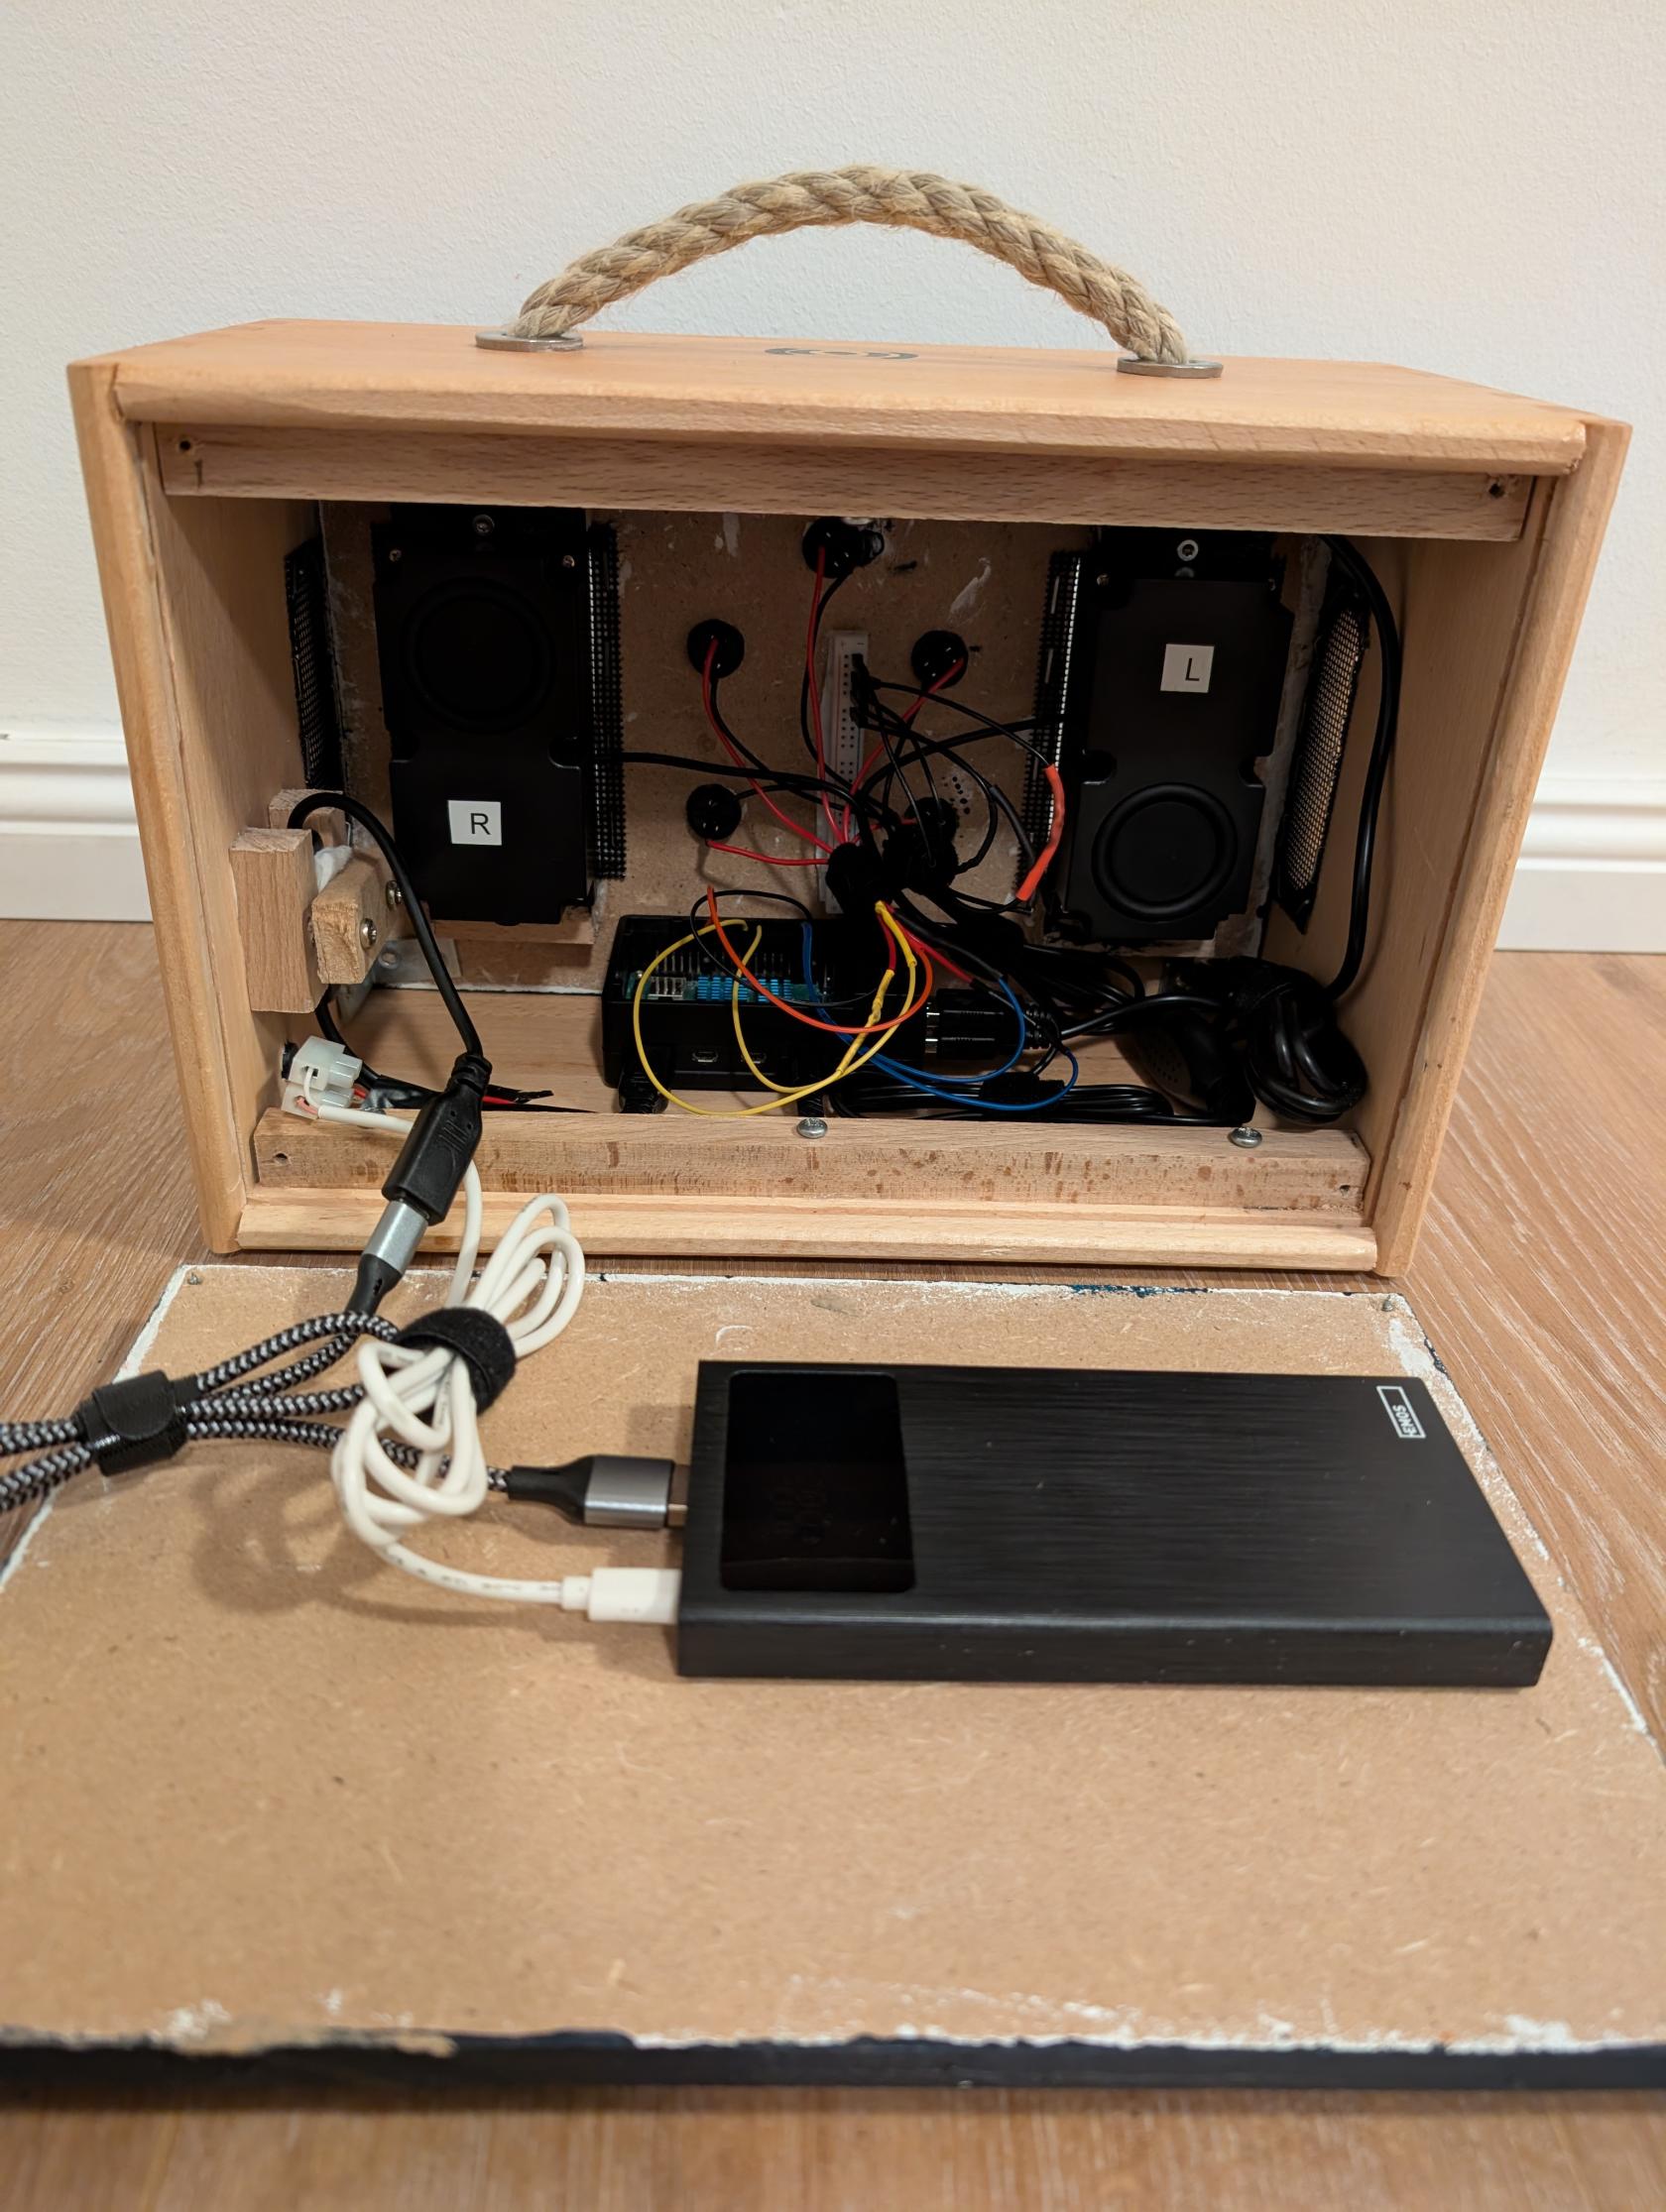](https://bookstack.leepeuker.dev/uploads/images/gallery/2025-01/1000000328.jpg)
[](https://bookstack.leepeuker.dev/uploads/images/gallery/2025-01/1000000329.jpg)
# Hardware
Here is a overview about all the hardware used to build Phoniebox.
The price we paid for materials we did not already own is in displayed **square brackets** behind the materials.
Rough diagram how everything should be connected:
[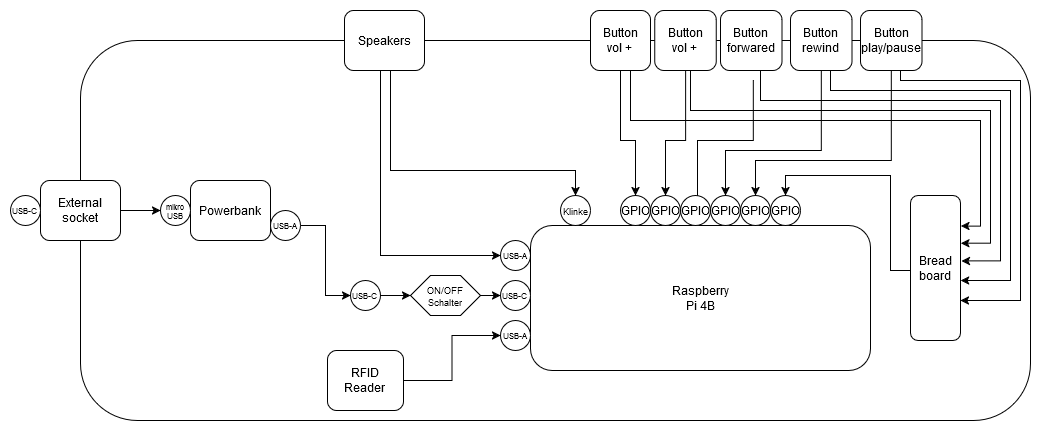](https://bookstack.leepeuker.dev/uploads/images/gallery/2025-01/hCAschaltplan-drawio.png)
### Case
- Wodden box \[12€\]
[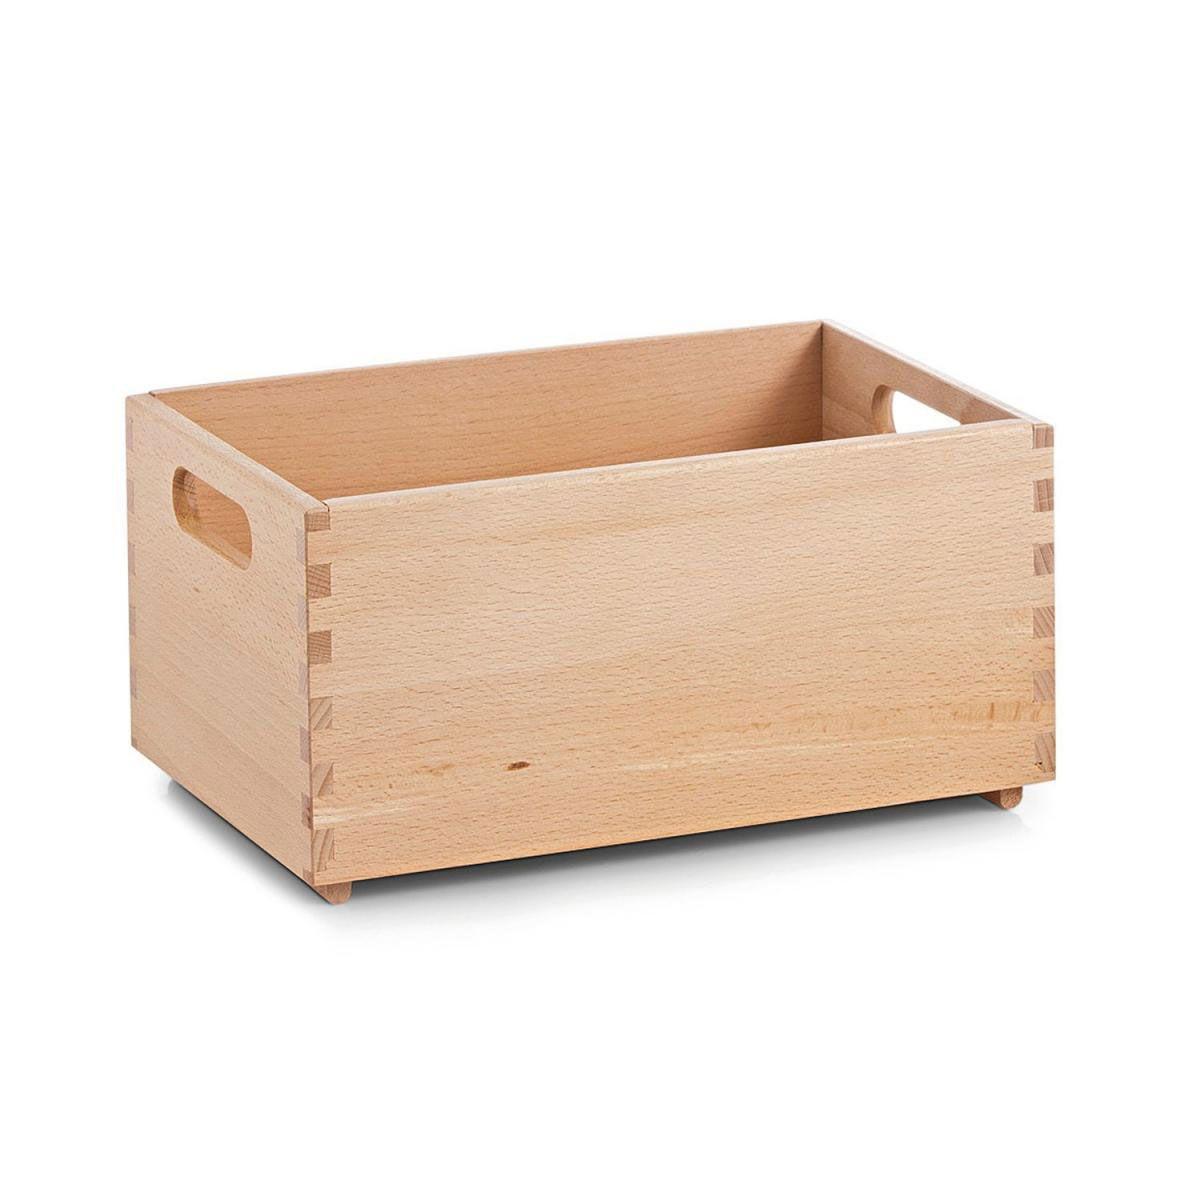](https://bookstack.leepeuker.dev/uploads/images/gallery/2025-01/box.jpg)
- 30 x 20 x 15 cm
- 1,3 kg
- glazed surface
- Wodden boards (top and bottom)
- Rope
- Wodden strips
- Angle connectors
- Screws
- Stainless Steel Car Grill Mesh Screen \[20€ for 100x33\]
[](https://bookstack.leepeuker.dev/uploads/images/gallery/2025-01/mesh.jpg)
- Coated 304SS Grid
- 1mm round hole
- Edding (permanent markers) white and black
### Technic
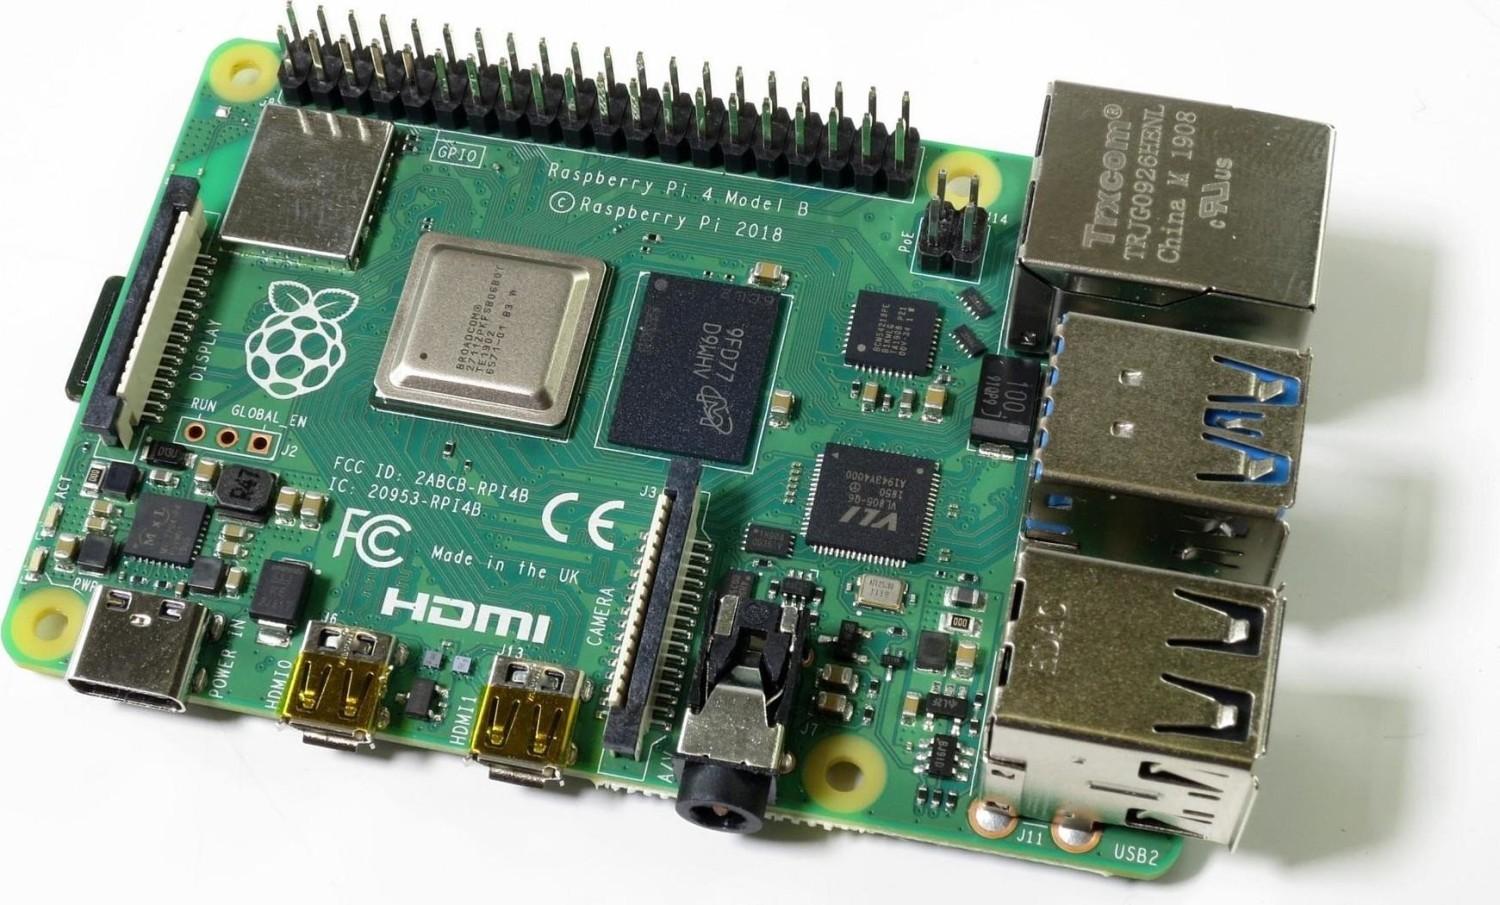
- Raspberry Pi 4 Modell B (4 GB)
[](https://bookstack.leepeuker.dev/uploads/images/gallery/2025-01/rpi4b.jpg)
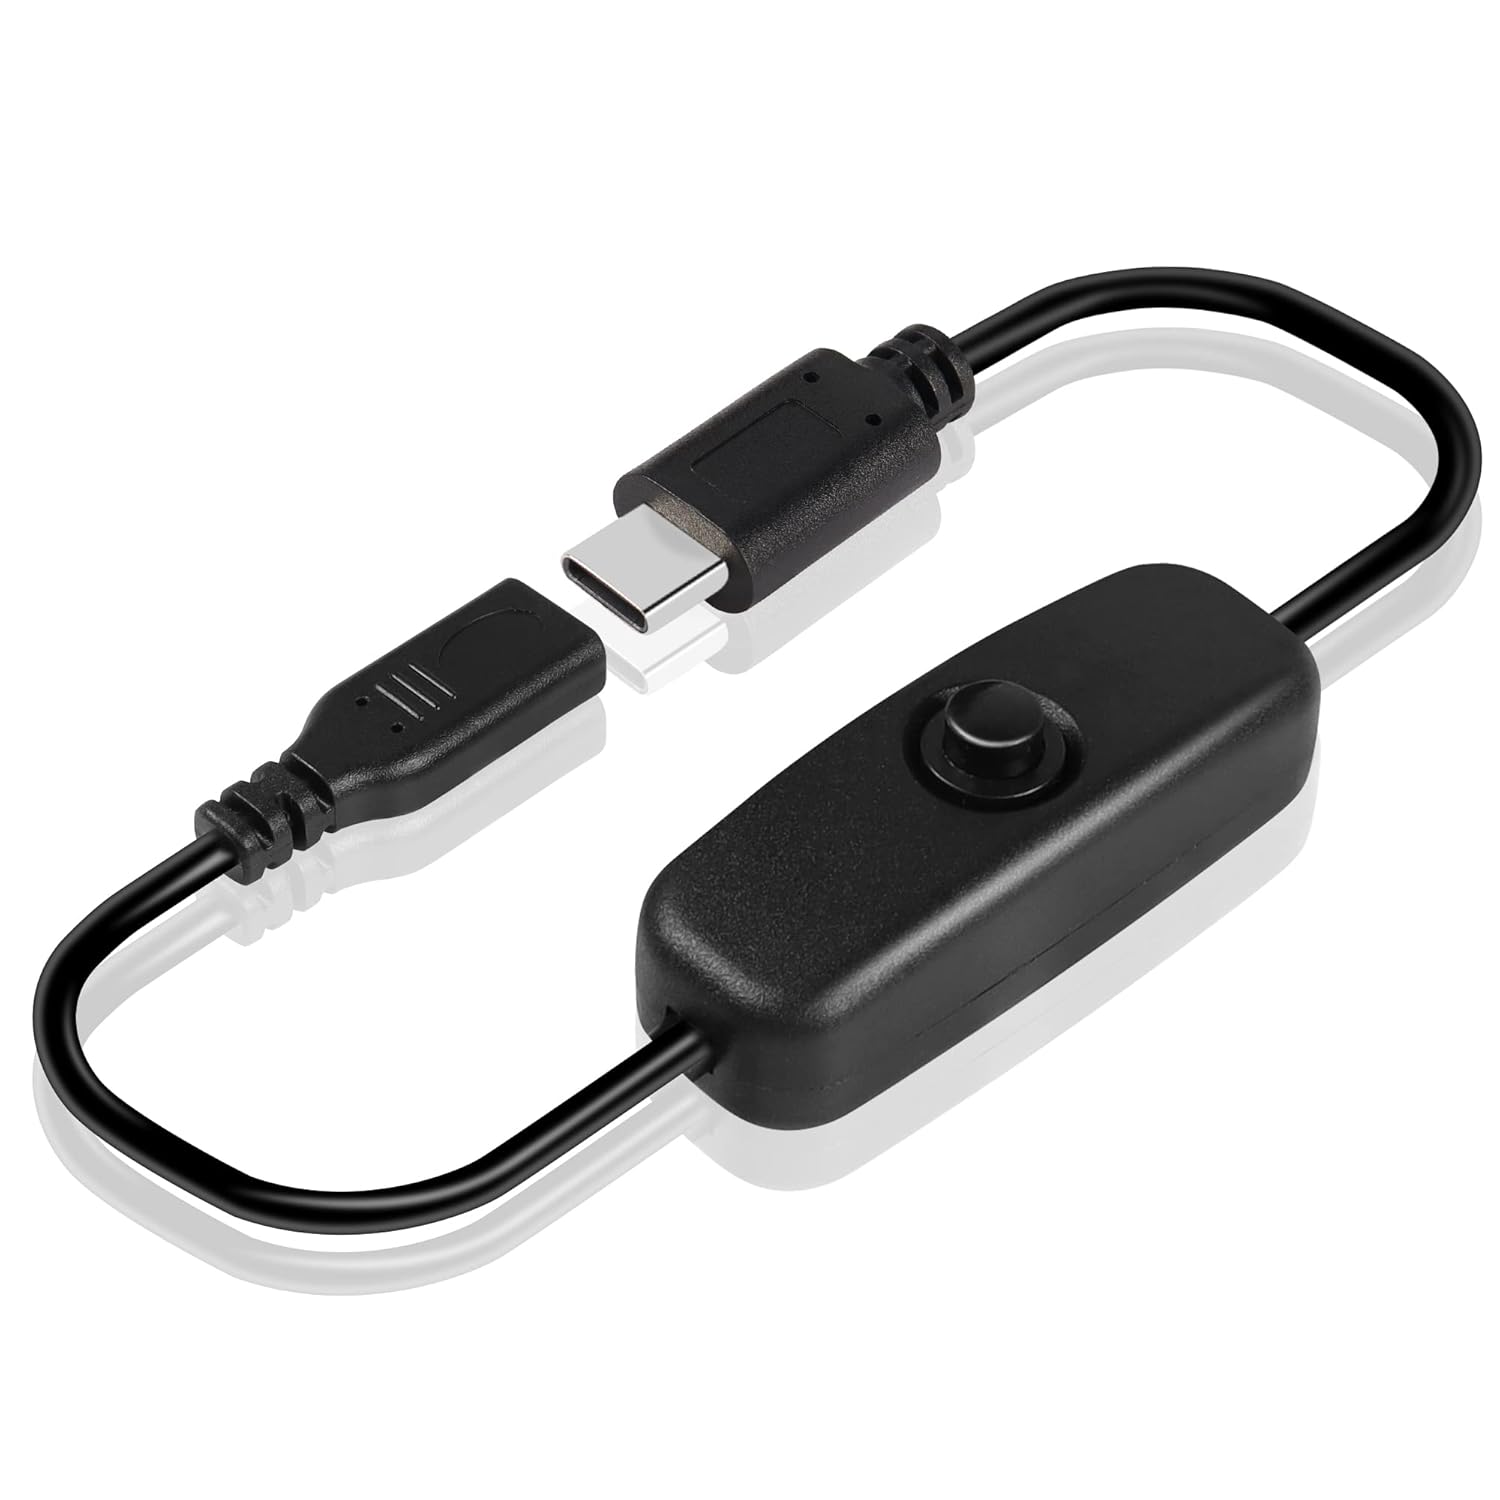
- GINTOOYUN USB C Cable with On/Off Button \[10€\]
[](https://bookstack.leepeuker.dev/uploads/images/gallery/2025-01/rpi4-btn.jpg)
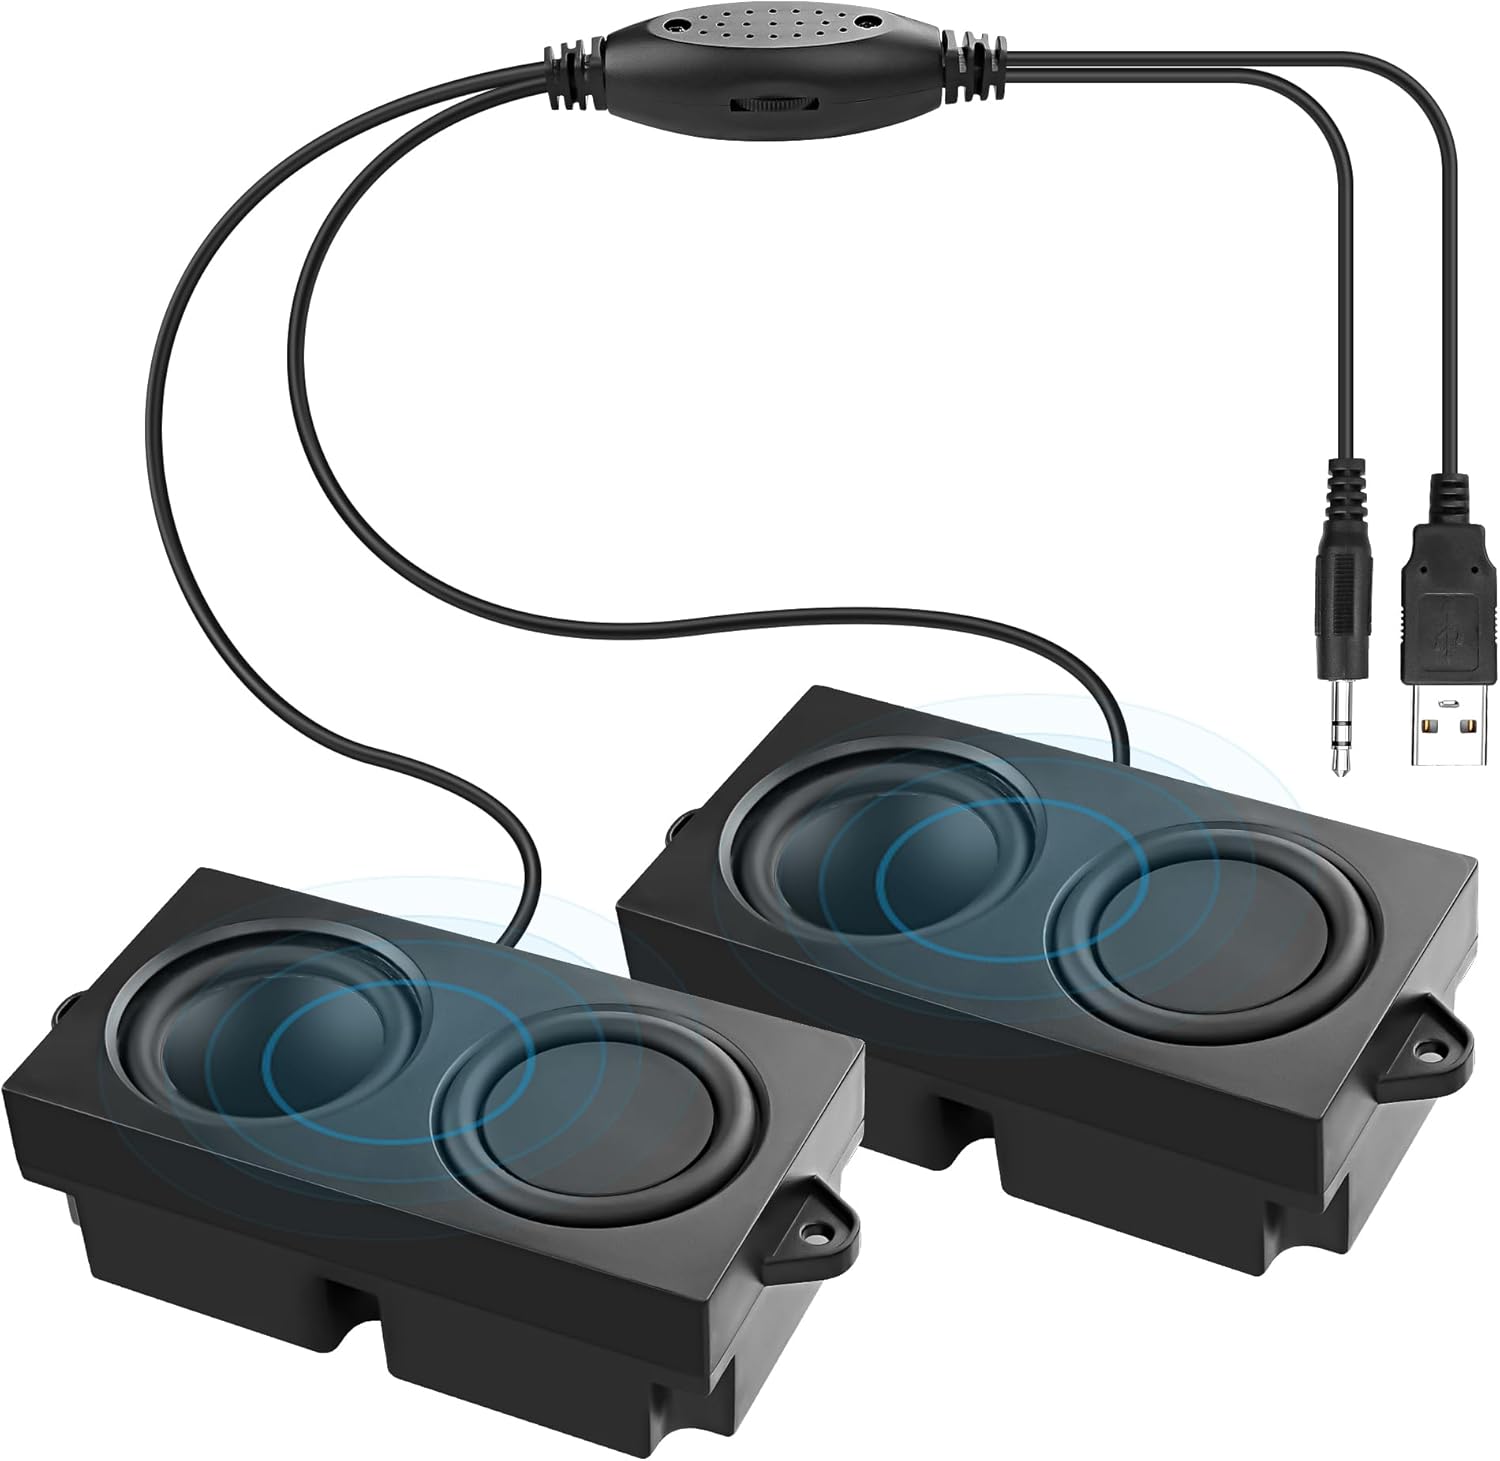
- MEIRIYFA Speaker 2.0 \[20€\]
[](https://bookstack.leepeuker.dev/uploads/images/gallery/2025-01/speaker.jpg)
- USB A powered
- 3.5mm AUX Jack
- power can be turned permantly on
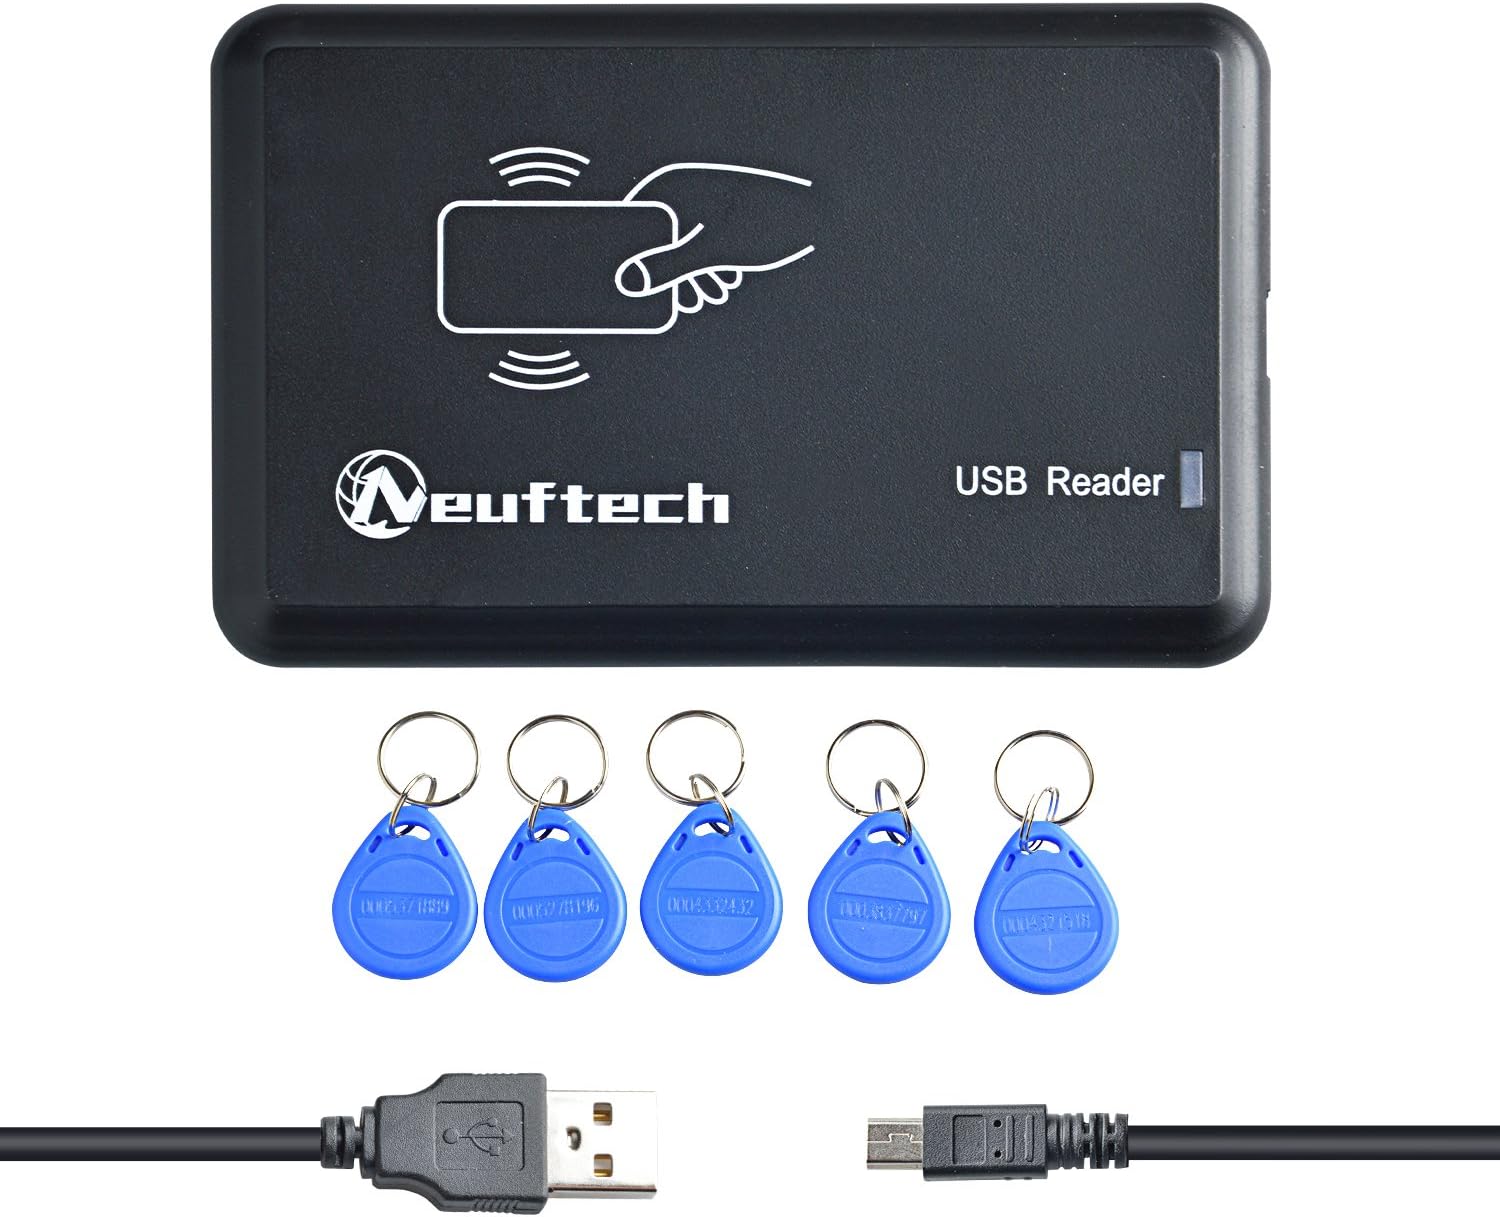
- Neuftech USB RFID Reader (EM4100) \[12€ includes 5 chips\]
[](https://bookstack.leepeuker.dev/uploads/images/gallery/2025-01/rfid-reader.jpg)
- EMOS Powerbank BetaQ \[21€\]
[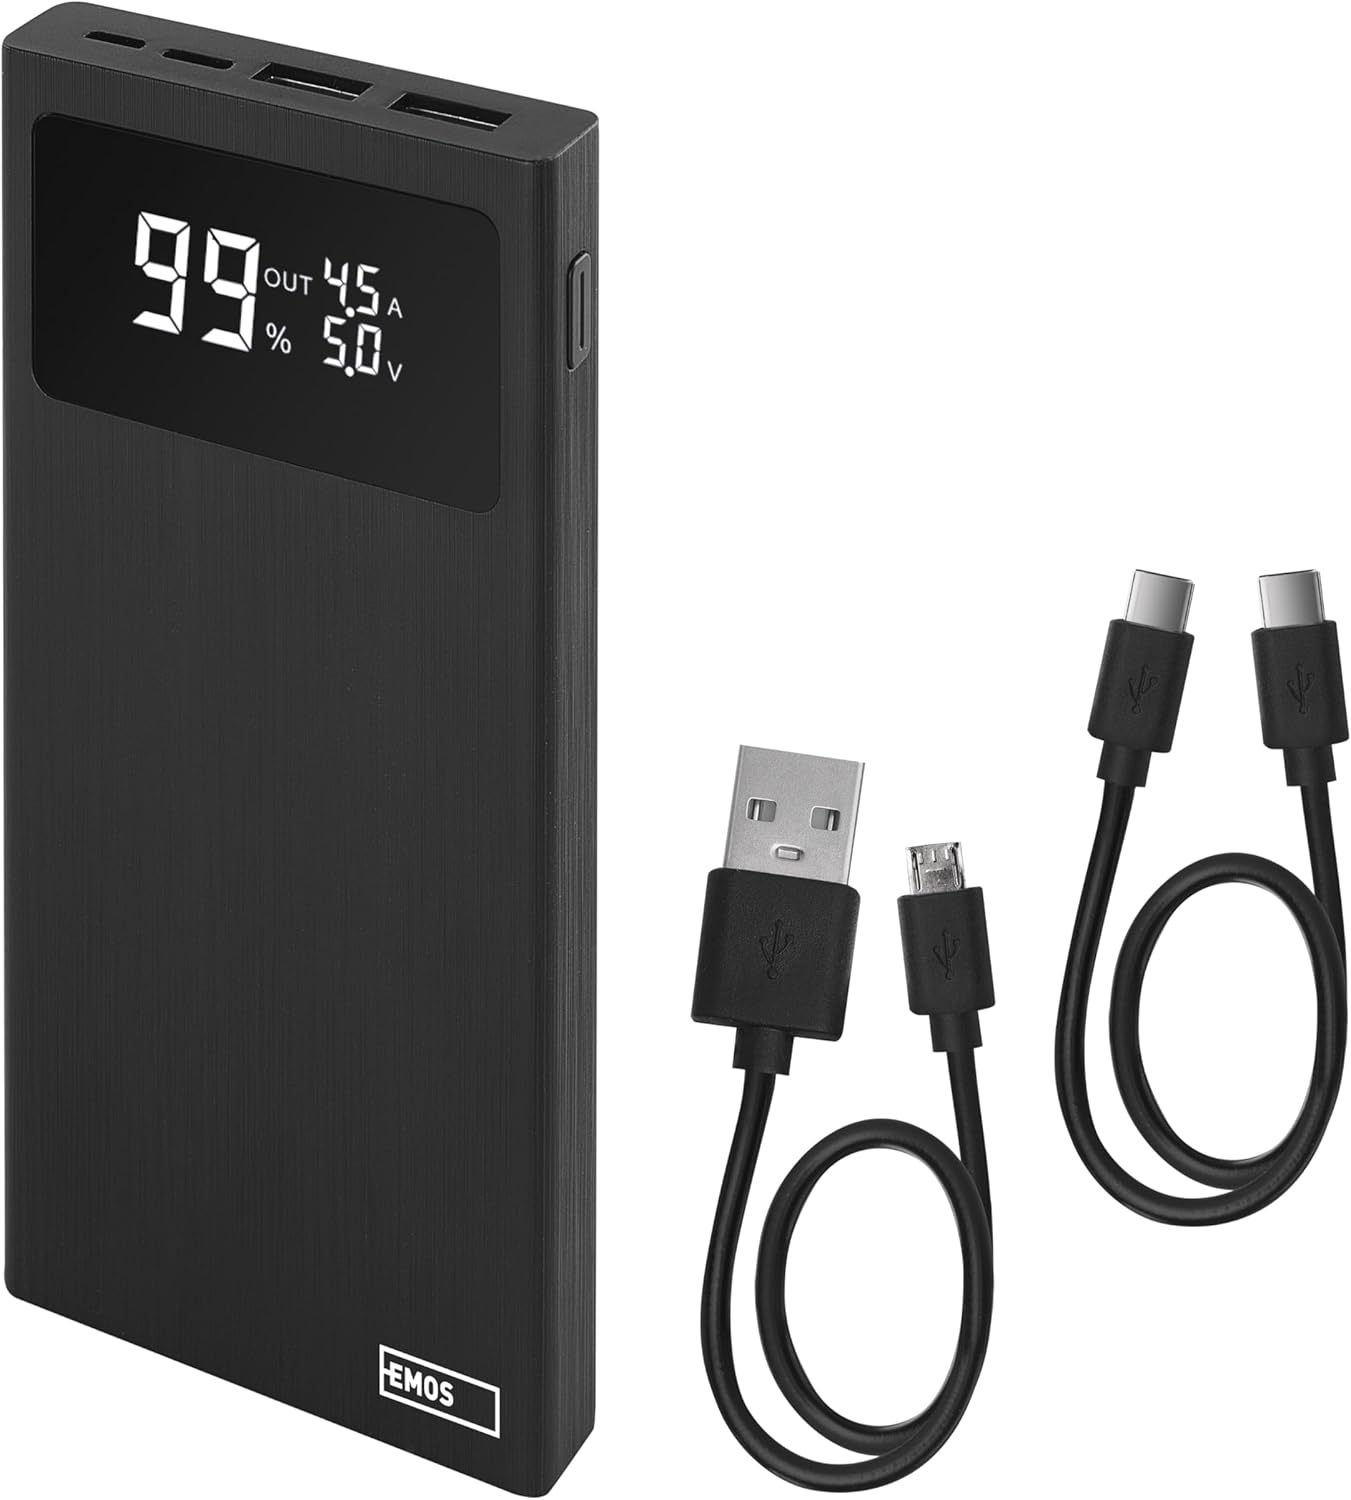](https://bookstack.leepeuker.dev/uploads/images/gallery/2025-01/powerbank.jpg)
- 10,000 mAh
- 22.5 W Quick-Charge
- Charger with Passthrough (important!)
- 2x USB-A and 1x USB-C out
- RUNCCI-YUN USB-C socket \[6€ for 6 sockets\]
[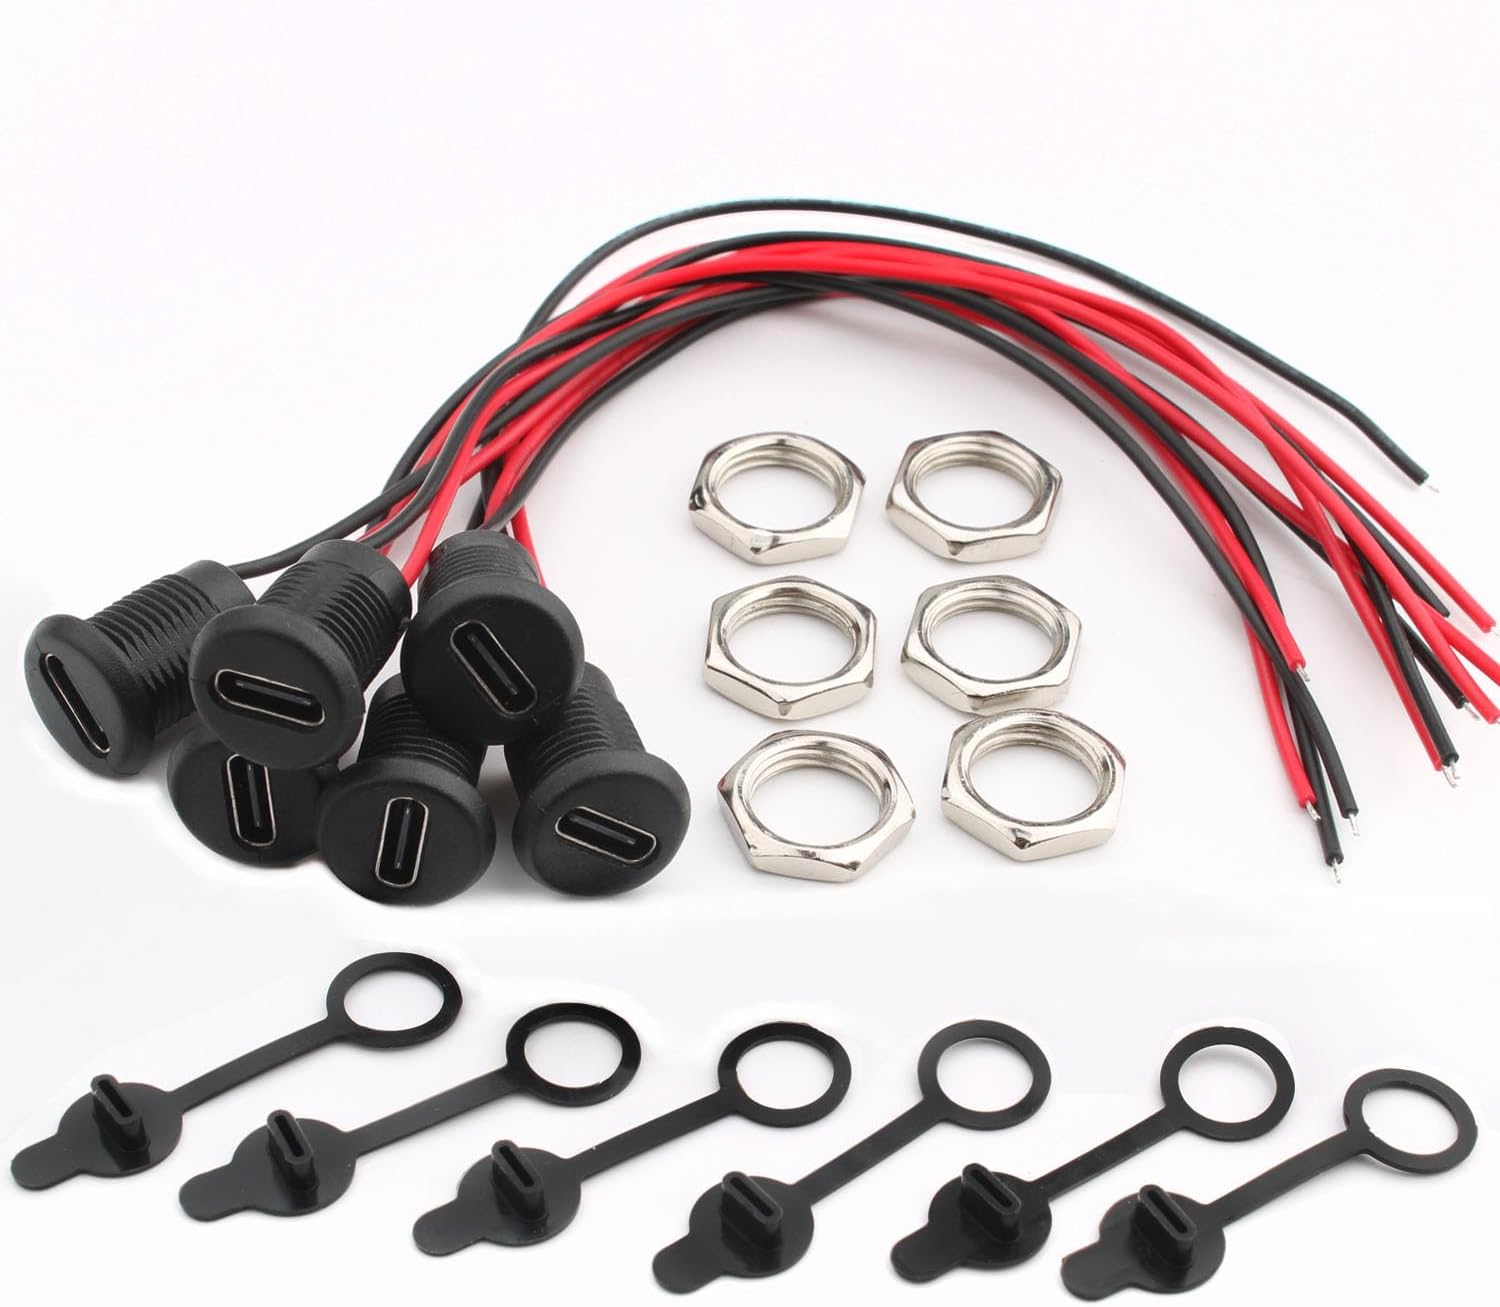](https://bookstack.leepeuker.dev/uploads/images/gallery/2025-01/sockets.jpg)
- waterproof
- Rated voltage: DC 5V/9V maximum current: 2.0A
- 12 mm diameter for the hole
- includes nuts
- RUNCCI-YUN Mini Round Momentary Push Button \[9€ for 10 buttons\]
[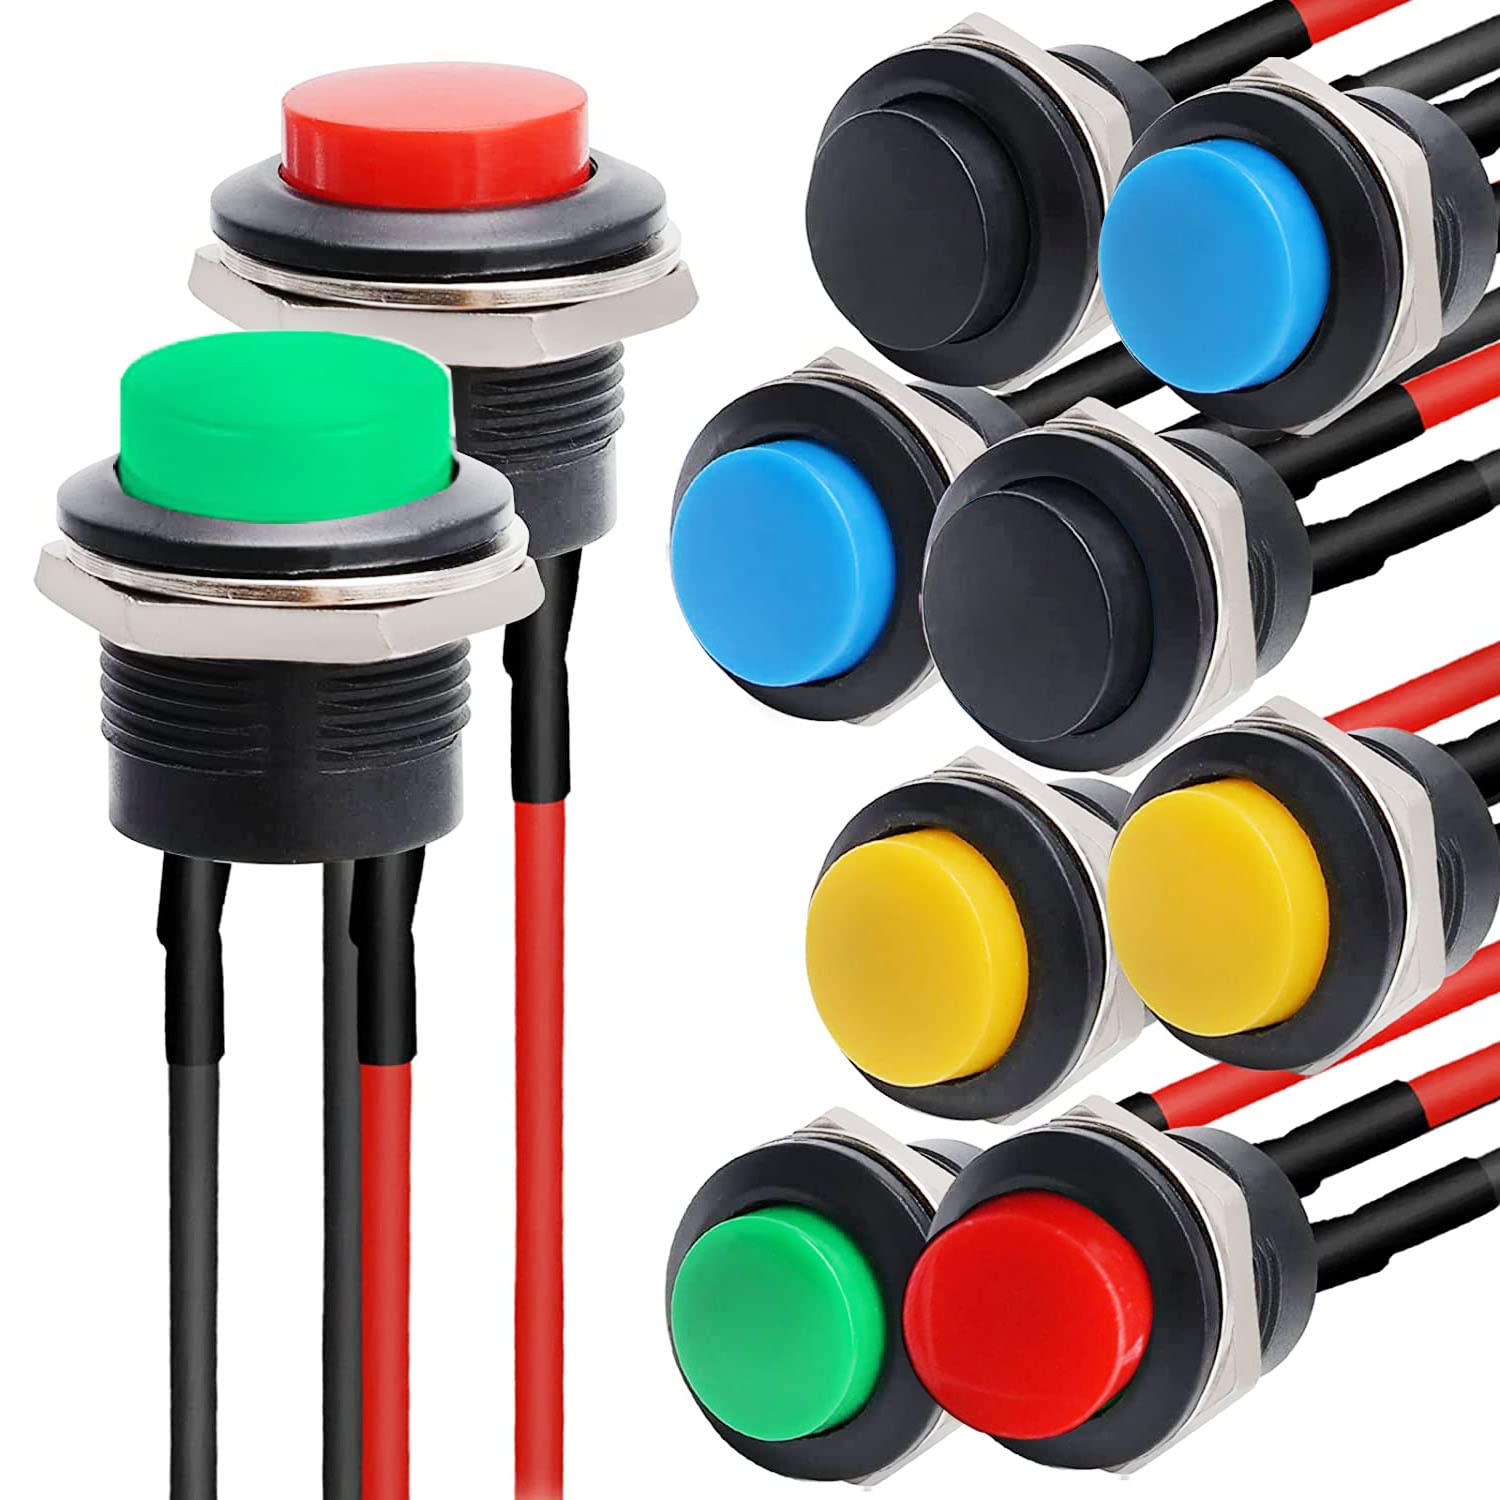](https://bookstack.leepeuker.dev/uploads/images/gallery/2025-01/buttons.jpg)
- Rated voltage and current: AC250V/3A AC125V/6A
- Mounting cut-out: approx. 15.6mm/0.6"; Head Diameter: 19.2mm/0.75"; 2 Ports
- Jumper cable
[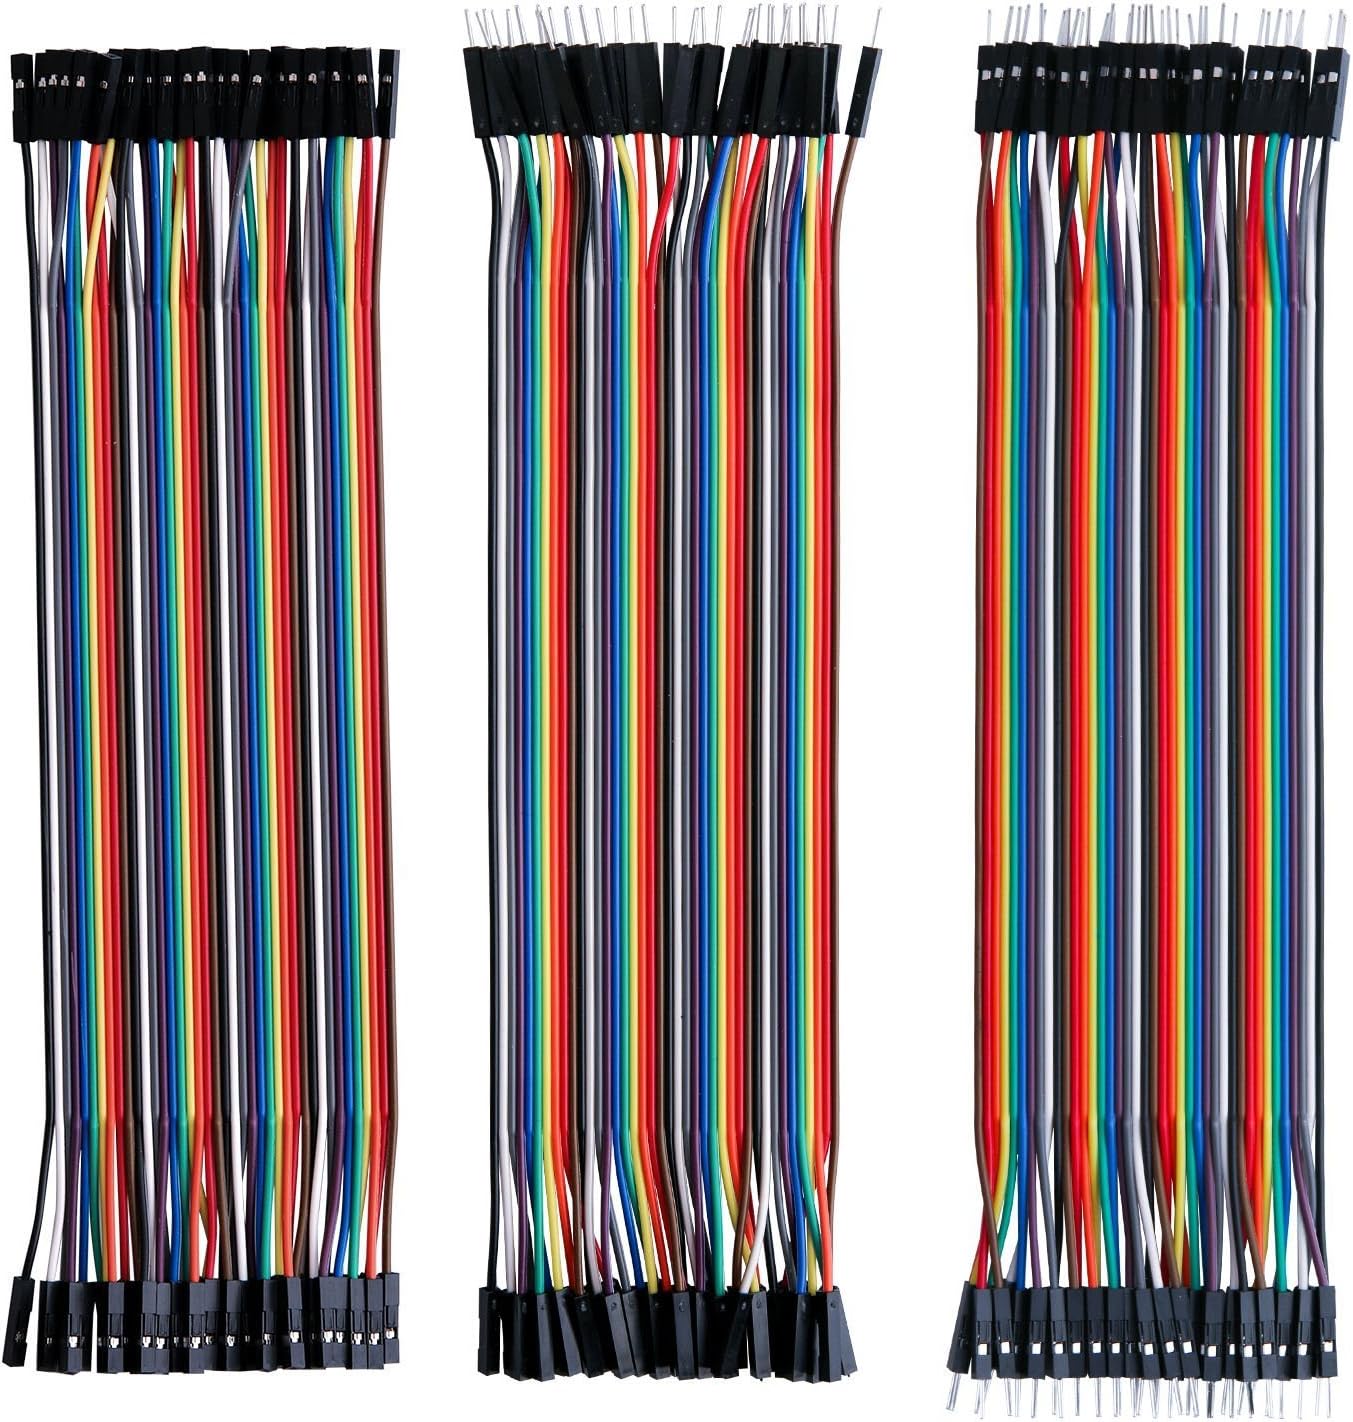](https://bookstack.leepeuker.dev/uploads/images/gallery/2025-01/jumper-cable.jpg)
# Software
We are using [Phoniebox](https://github.com/MiczFlor/RPi-Jukebox-RFID) as the main software to control and configure the Raspberry Pi.
- Operating system: Rasbian (Bullseye)
- outdated OS version recommended because of GPIO issues with newer one
- Phoniebox: [](https://github.com/MiczFlor/RPi-Jukebox-RFID)(v2)
- install guide: [https://github.com/MiczFlor/RPi-Jukebox-RFID/wiki/INSTALL](https://github.com/MiczFlor/RPi-Jukebox-RFID/wiki/INSTALL)
- we decided to use v2 mainly because the device should be as stable as possible
After the setup the device can be controlled and configured via web UI.
# Notes
### Improvements
Here are some thoughts I have about updates to the current device or for a version 2:
- add OnOff SHIM as improved power management
- bigger buttons (I was not really thinking about the size when I ordered them)
- make it lighter, the whole thing is pretty heavy and not super easy for a young child to move